As the days grow shorter and the temperatures begin to drop here in the Chicago area, it’s time to start thinking about closing your inground pool for the season. Properly winterizing your pool is an essential part of protecting your investment, ensuring the longevity of your pool equipment, and making the next opening a breeze.
In this easy-to-read guide on how to winterize your inground pool, our experts will walk you through the step-by-step process of prepping your pool for the off-season, from cleaning and chemical balance to equipment maintenance and cover installation.
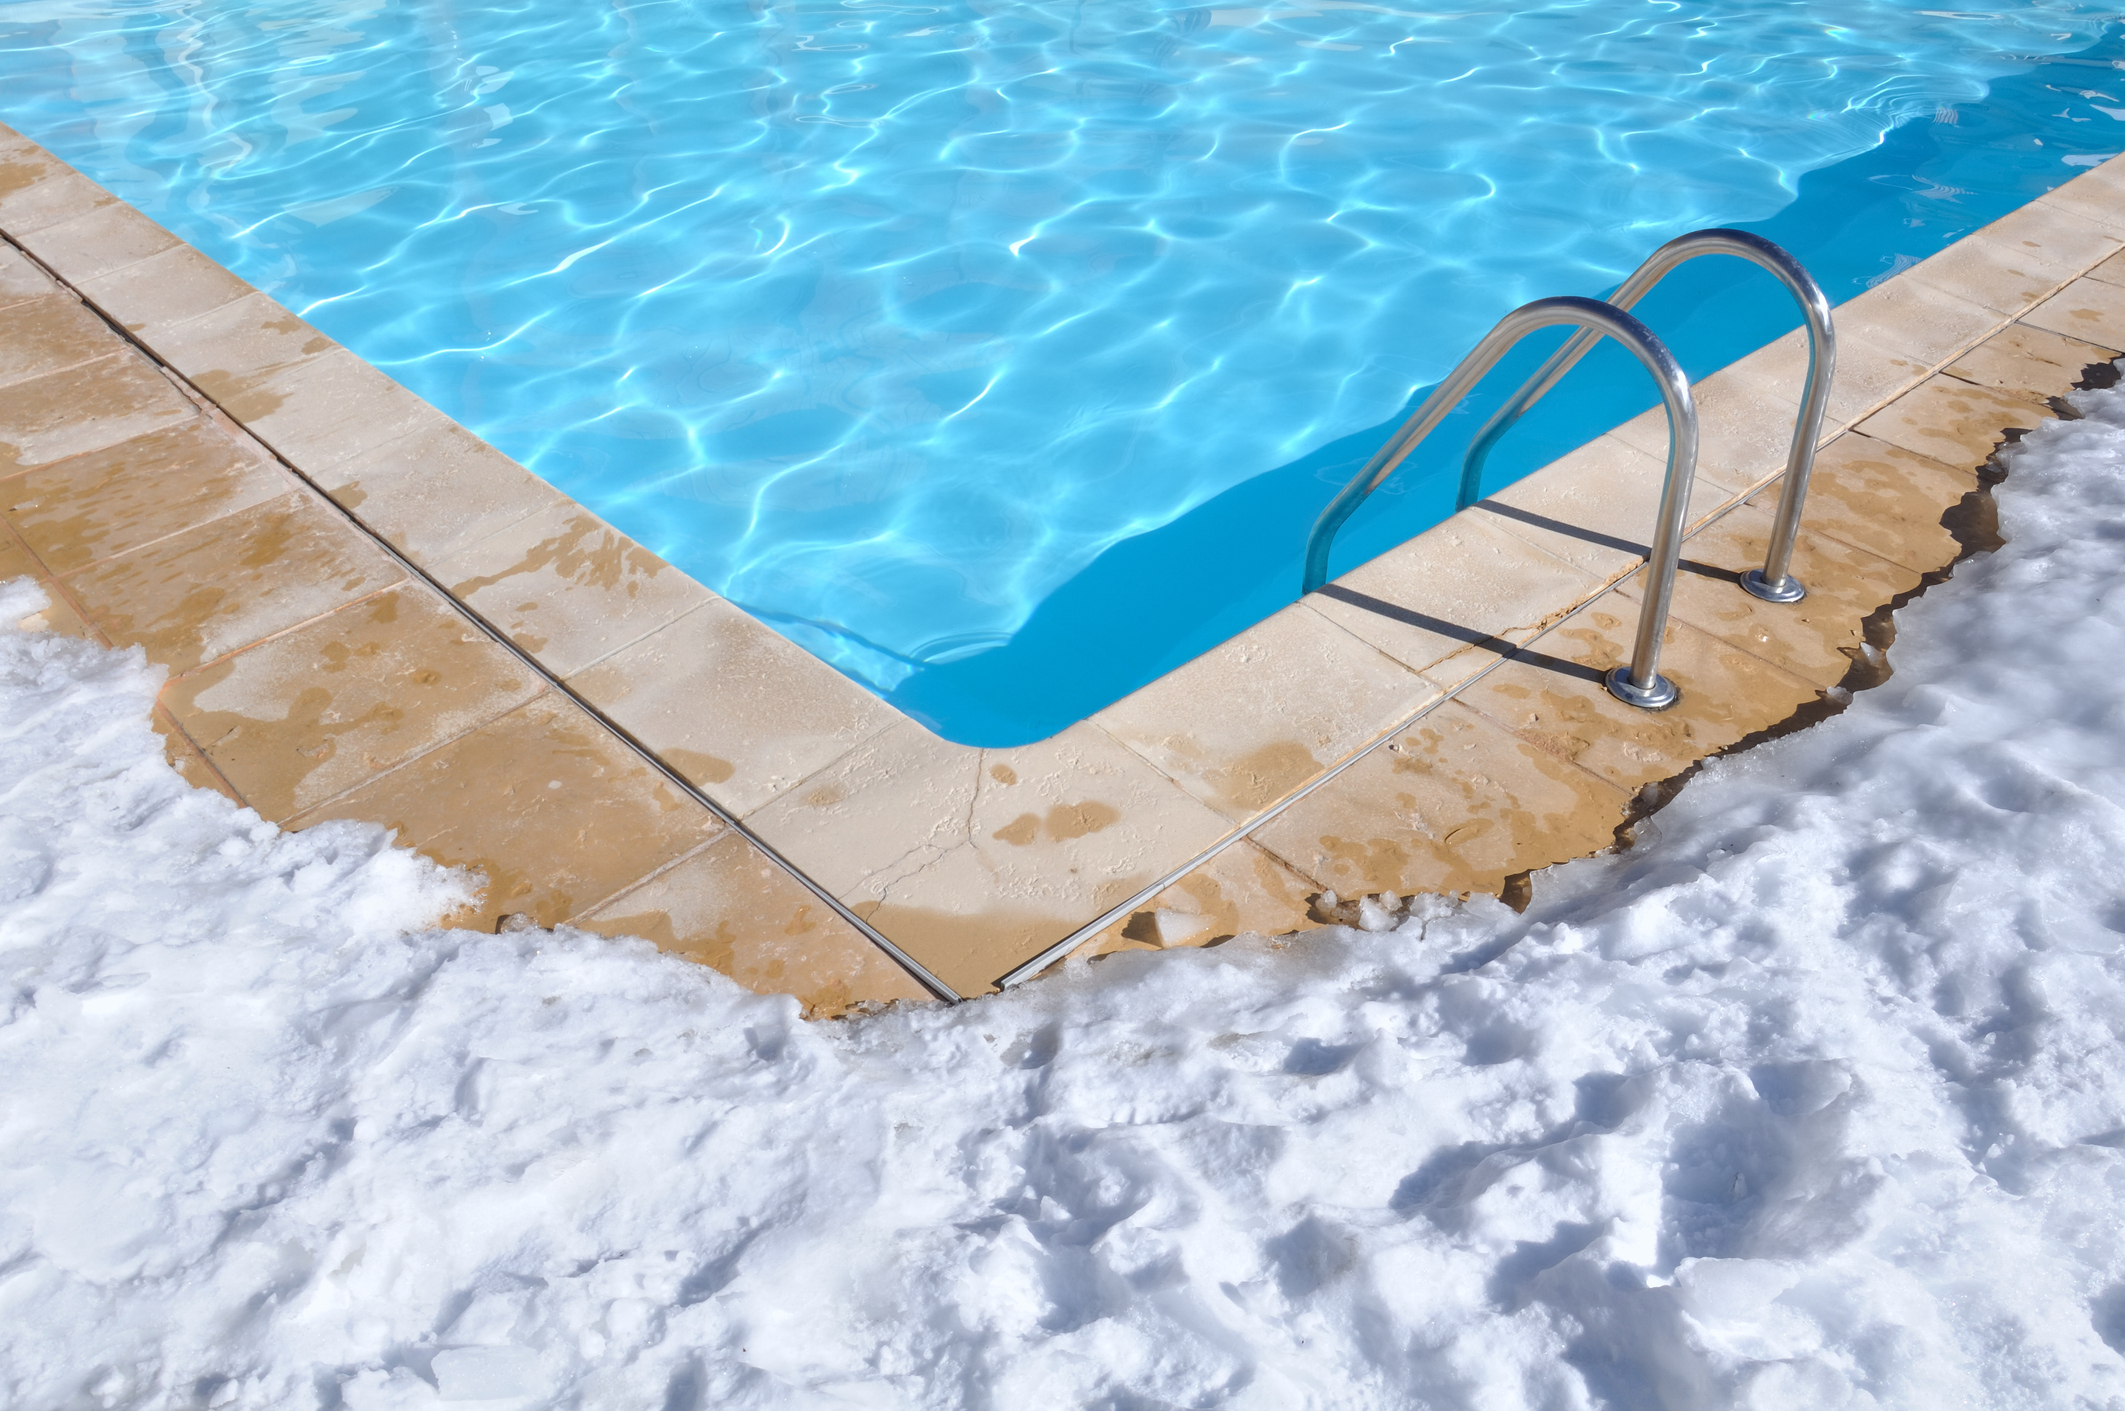
Picture this: you leave your pool open for too long and the water freezes, expanding and causing your pipes to burst before damaging your filter and pump. No, thank you!
By following these important steps, you can safeguard your beautiful pool from the harsh winter elements, ultimately preventing damage and making the transition to next year’s pool season smoother, easier, and more cost-effective.
Step 1: Clean the Pool
Before you start the winterization process, it’s crucial to make sure your pool is clean and free from debris. Start by clearing out any leftover toys, ladders, and accessories, then skimming the surface and brushing the walls to remove any leaves, bugs, or dirt.
Finally, spend some time vacuuming the pool floor (or let your automatic pool cleaner do the work) to complete the cleaning process. A clean pool will be way easier to maintain during the winter months and make the spring reopening less labor-intensive for you.
Step 2: Balance the Chemicals
Balancing your pool’s chemistry is a critical step in preparing for the chilly months to come. Use a testing kit to test the water and adjust the pH and alkalinity levels to their recommended ranges. For reference, the pH should be between 7.4 and 7.6, and the alkalinity should be 80 to 120 PPM.
It’s also best to add a winter algaecide and winterizing kit to help prevent algae growth and protect your pool’s surfaces while it’s closed. If you can, try to balance your pool’s chemistry a few days before closing it to give the chemicals time to disperse.
Step 3: Lower the Water Level
While it’s critical to lower the water level in your pool before closing it for the season to prevent freeze damage, you absolutely do not want to drain all the water. As a general rule of thumb, it’s advisable to lower the water to roughly 12 inches from the skimmer.
This allows room for water expansion without causing any damage to your pool. With that said, you should use the manufacturer’s guidelines to determine the best practice for your specific pool type.
Step 4: Clean and Store Equipment
We could easily have split this step into several steps, but in an effort to keep it simple, let’s just call it a single step! This is where you’ll spend the bulk of your time, so keep that in mind when planning out when to tackle each step of the process. A huge part of the winterization process for an inground pool is cleaning and storing the equipment.
Here’s what to include on your pool equipment task checklist:
- Clean the pool filter thoroughly and backwash if necessary.
- Remove and clean the pump basket.
- Drain the pump and filter out any remaining water to prevent freezing.
- Disconnect and store hoses, pressure gauges, and any other removable equipment.
- Lubricate O-rings and gaskets to prevent drying out and cracking.
- Store pool equipment in a dry, protected area (preferably indoors!) to prevent exposure to harsh weather conditions.
Step 5: Cover Your Pool
If you don’t already have one, you’ll want to invest in a high-quality pool cover to protect your investment during the winter. There are several types of pool covers to choose from, like solid covers and mesh covers.
Solid covers provide complete protection, keeping out sunlight and debris. Mesh covers allow water to pass through while preventing debris from getting in. Take some time to determine the pool cover type that best suits your needs and budget.
Once you’ve installed your cover, make sure it’s secure and properly fitted. Use water bags or a cover pump to prevent the cover from sagging under the weight of cold-weather elements like snow or rain.
Step 6: Winterize Plumbing and Pool Lines
To prevent freezing and potential damage to your pool’s plumbing, you will need to blow out the lines with air to remove any excess water and add antifreeze. Here’s how:
- Use a pool air compressor to blow out water from the lines and equipment.
- Add pool-specific antifreeze to the lines to protect the water against freezing. Be sure to use the right type for your pool, which you can find in the manufacturer’s guidelines.
- Plug the skimmer and return lines with winterizing plugs to seal them off.
Step 7: Maintain Your Pool
It would be easy to close your pool for the winter and then forget about it until spring reopening, but that’s how damage winds up occurring. Throughout the off-season, periodically check on your pool and ensure that the cover looks okay.
As needed, remove any debris or snow that has accumulated to prevent damage before it happens. Ensure that the cover remains secure at all times so it can continue protecting your fiberglass swimming pool until you’re ready to enjoy it again.
Winterize Your Chicago Pool with Chip & Dip
Prepping your pool for the cold months may not be anyone’s idea of fun, but it’s a vital task for every responsible pool owner. By following this guide on how to winterize your inground pool, you’ll help to ensure its longevity and simplify the reopening process.
If you’re feeling busy or overwhelmed, our team of Chicago pool experts would be happy to tackle the winterization process for you. For new pool owners, it’s often a good idea to place important maintenance tasks in the hands of professionals so you can rest assured knowing that your pool is being handled with care.
To enjoy a worry-free winter by allowing us to take the reigns on your pool winterization, get in touch with our skilled team today.